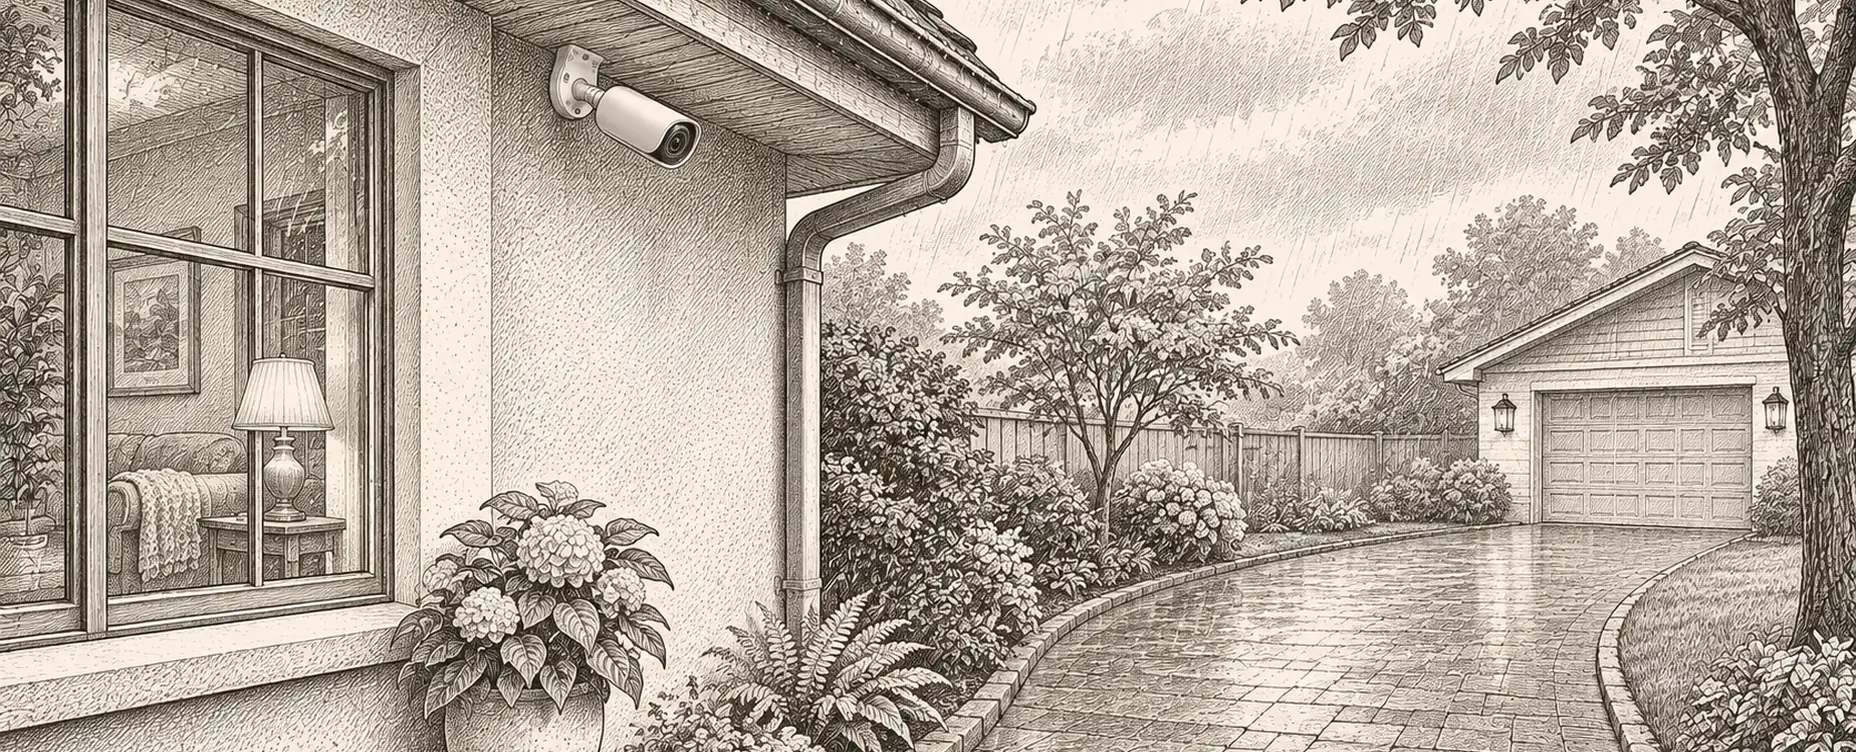
Most outdoor camera disappointment has nothing to do with the camera. It is a mounting position chosen for convenience rather than coverage, a cable entry point that was never meant to face upward, or infrared light bouncing straight back off something nobody noticed was close to the lens. The camera itself, in the large majority of cases, was capable of doing the job.
Get the physical installation right first. Everything else is a distant second.
Coverage is a geometry problem
A camera sees a cone, not a point, and the size and shape of that cone is set by height, angle and lens field of view — not by resolution or brand.
Height around 2.4 to 3 metres is the usual sweet spot: high enough to be out of easy reach and above most obstructions, low enough that a face is still recognisable rather than a foreshortened dot on top of a head.
Angle it down, not level. A camera aimed at the horizon captures a lot of sky and very little useful ground. Ten to twenty degrees below horizontal usually frames the approach path rather than the middle distance.
Decide what you actually need to identify. Recognising that a person is present needs far less resolution and a far wider angle than recognising which person, or reading a number plate. A single wide camera covering a driveway will rarely also deliver a legible plate; that needs a second, narrower camera aimed along the direction of travel.
Avoid backlighting. A camera facing a rising or setting sun, or a bright security light on the wrong side of the frame, silhouettes anything in front of it. Check what the view looks like at both ends of the day before committing to a mounting hole.
What an IP rating does not cover
An IP65 or IP66 rating means the housing was tested against a jet of water from a nozzle under laboratory conditions. It says nothing about how the installer routed the cable into it.
The cable entry is the usual failure point. Water runs down a cable and, if the entry point is not below the lowest part of the run, follows the cable straight into the housing. A drip loop — a short downward dip in the cable just before it enters the gland — gives water somewhere to fall off instead of following the cable in.
Unused cable glands need a blanking plug, not tape. Most enclosures have two or three entry points and only one is normally used; the others are a direct path for driven rain if left open.
Orientation matters as much as the rating. A camera rated for outdoor use but mounted upside down, or with a seam facing upward, can still let water in around a seal that was only ever tested facing down.
Direct, prolonged sun shortens the life of plastics and seals faster than rain does. A housing under an eave or soffit, even a shallow one, will usually outlast an identical one in full exposure.
Wired connections beat wireless outdoors
Every convenience of a battery, Wi‑Fi camera evaporates a little at the far end of a garden.
Wi‑Fi signal degrades with distance and is blocked by masonry, and an outdoor camera is often exactly the device furthest from the router. A camera that drops off intermittently is worse than no camera, because it creates false confidence.
Battery life falls sharply in the cold. The chemistry that gives a battery camera weeks of charge in summer can give it days in a cold snap, precisely when reliability matters most.
Power over Ethernet (PoE) solves both problems at once: a single cable carries power and a wired network connection, removing the battery and the Wi‑Fi link entirely. It costs more to install — running a cable is real work — but it is the difference between a camera that works reliably for years and one that needs a battery swapped in the rain every few weeks.
Where running a cable genuinely is not practical, a cellular or 4G camera with mains power nearby is usually a better compromise than battery-and-Wi‑Fi for anything more than a few metres from the house.
Infrared reflects off anything close
Infrared illumination bounces straight back off whatever is nearest the lens, which is why night footage from a camera mounted too close to foliage, a wall, or its own housing often looks like a washed-out white blur.
Keep at least a metre of clear space in front of the lens, and check again after a season of growth — a bush that was clear in spring can be inside that distance by late summer.
Spider webs are a recurring, specific problem. A single strand a few centimetres from an infrared LED lights up brilliantly at night and triggers motion detection on nothing at all. It is worth checking the housing every few weeks in web season.
Condensation inside the dome on cold, humid nights scatters infrared the same way. Cameras with a heated front element or good ventilation in the housing avoid this; cheaper sealed domes are more prone to it.
Storage, and where the recording stays
Local storage — an SD card or a network video recorder on your own network — keeps footage under your control and working during an internet outage, which is often exactly when it matters. Cloud storage adds convenience and off-site backup against theft of the recorder itself, at the cost of a subscription and a dependency on your connection.
Many households do best with both: local storage as the primary record, with cloud clips reserved for actual motion events as a backup.
Coverage boundaries and what not to point at
Keep the field of view inside your own property line wherever the geometry allows it. A camera that happens to also frame a neighbour's window, garden or driveway is one of the most common sources of dispute between neighbours, and in a number of jurisdictions recording someone else's private space without consent carries a real legal risk, not just a social one.
Where full exclusion is not possible — a shared driveway, an overlooked boundary — a privacy mask that blacks out the offending part of the frame in software is the usual practical answer, and worth checking whether your camera's software actually supports it before buying.
A sensible install order
- Walk the property at the time of day you actually care about and note where the sun sits at both ends of the day.
- Decide identify-a-person versus read-a-plate for each position, since the two need different lenses and distances.
- Mount around 2.4–3 m, angled down, with a metre of clearance from any foliage or wall in frame.
- Run a cable if at all possible, with a proper drip loop into the gland and blanking plugs in unused entries.
- Check the night view after dark for infrared reflection and adjust position rather than accepting a washed-out image.
- Confirm the frame stays inside your boundary, and mask anything that does not.
- Recheck after the first season, when growth and weather have had a chance to change what the camera actually sees.
None of this is expensive. It is mostly the difference between an afternoon spent on the geometry and a camera that quietly disappoints for years.